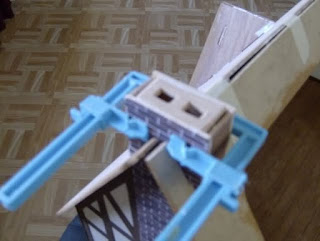
Today, I started working on the chimney for the dollhouse. It was a bit challenging to figure out the instructions without any pictures. However, I managed to understand it and took several photos of how it should look. Essentially, I'm building a box inside another box, with the smaller pieces forming the inner box and the larger pieces covering it.
I decided to add the roof support since the beams already help hold up the roof. Strengthening the dollhouse seemed like a good idea. At first, I thought the support wouldn't fit, but I realized it should go in before attaching the back roof. After some effort, I was able to fit it in, and it now supports the roof well. I also had to shape an emery board into a point because sanding was difficult. Although the pieces were sanded and painted before assembly, they still looked a bit rough afterward due to gaps that needed patching. They eventually took shape, but I trimmed the bottoms where they touch the porch floor and the back of the seats. I found some tiny trim pieces from previous projects to complete this. Now they look perfect.
Once the chimney dried, I applied brick paper to its exterior, folding in the side edges for a seamless look. I painted the top of the chimney to resemble stucco and added wisps of cotton to create smoke.


