The assembly I built yesterday was completely dry this morning.
I started by priming the interior wall. Any light color paint works, not just white. The goal is to seal the wood so it doesn't absorb the wallpaper paste and to create an even background that prevents dark wood blotches from showing through the wallpaper.
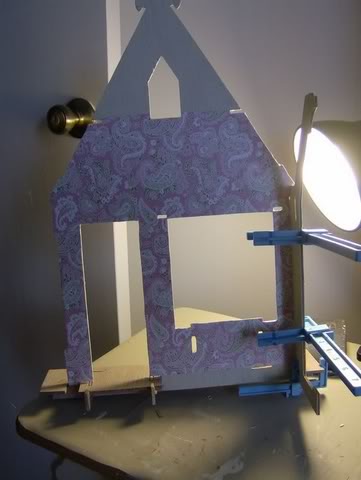
Once the primer was dry, I applied the wallpaper. I chose scrapbook paper for this project because it comes in a variety of fun patterns and colors that are coordinated, making it perfect for small dollhouses like this. This approach is a great alternative to traditional miniature wallpaper. Since I'm applying the wallpaper before assembling the dollhouse shell, there may be seams where the walls meet at the corners. I will try to keep the walls tightly together, and because the wallpaper has a bold pattern, any small seams should be hard to notice. If they are visible, I can cover them with small scraps of wallpaper that I’m saving, as these scrapbook sheets are relatively small.
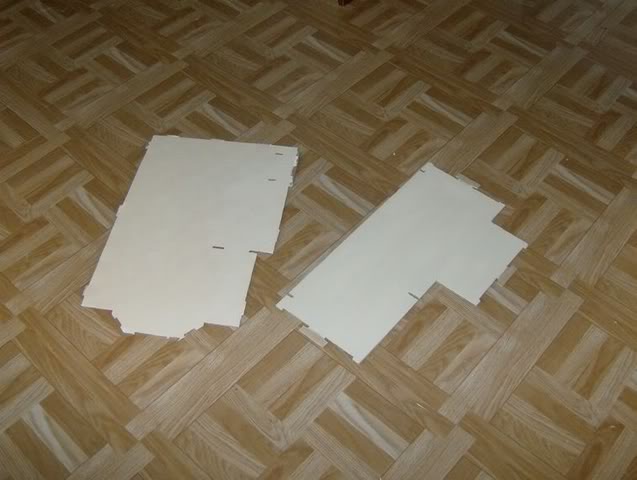
After the wallpaper dried, I trimmed the excess and began preparing other parts. I primed all the walls and painted the ceiling, which is the underside of the attic floor, using a light green color that matches the wallpaper. I also primed the floor since I plan to use a floor covering. Initially, I tried painting a checkerboard pattern, but it didn’t turn out well, so I primed over it and opted for miniature plastic tile flooring instead. It's important to prime your floors when using any type of covering, choosing a color similar to your flooring. The attic floor has tabs around it that will serve as window sills once installed, so I'm leaving them unpainted for now because I plan to use a different color on them.
I began constructing the dollhouse with wood glue but switched to tacky glue for finishing touches since it dries clear and won’t damage my wallpaper. Wood glue isn’t suitable for finished parts. I installed the center support and am waiting for it to dry while clamped before applying wallpaper to it. In the meantime, I'll finish wallpapering the rest of the interior walls. I'll do the upstairs wallpaper after installing the walls and floor since that will be easier.
Installing the first floor was straightforward; it required some effort but no hammer was needed. I'm glad I let the porch assembly dry overnight; otherwise, it might have fallen apart under pressure.
The corners where two walls meet look good with no visible seams, and I hope the rest fit just as well. It's crucial to follow instructions carefully when installing the attic floor since there’s only one correct way to do it. The kit’s instructions indicate that not all four walls should be raised at once; doing so would prevent fitting in the attic floor.
After everything dried, I started putting up walls and used masking tape to clamp them down while waiting to insert the attic floor. I’m cautious not to disturb them during this process, and thankfully there are no visible seams at the corners from wallpapering first. I need to apply wallpaper to one side of the center support wall because part of it is exposed in the interior. This area is small, but I don’t have enough of this print left for both bays, so I’m considering using striped paper from upstairs as a contrast.
When I attempted to install the attic floor after raising all three walls, I realized it wouldn’t fit. To solve this issue, I had to cut off all of the window sills and then repair those areas before gluing them back on. Everything looks good now; I've clamped it again and am waiting for it to dry before making further repairs and repainting as needed.