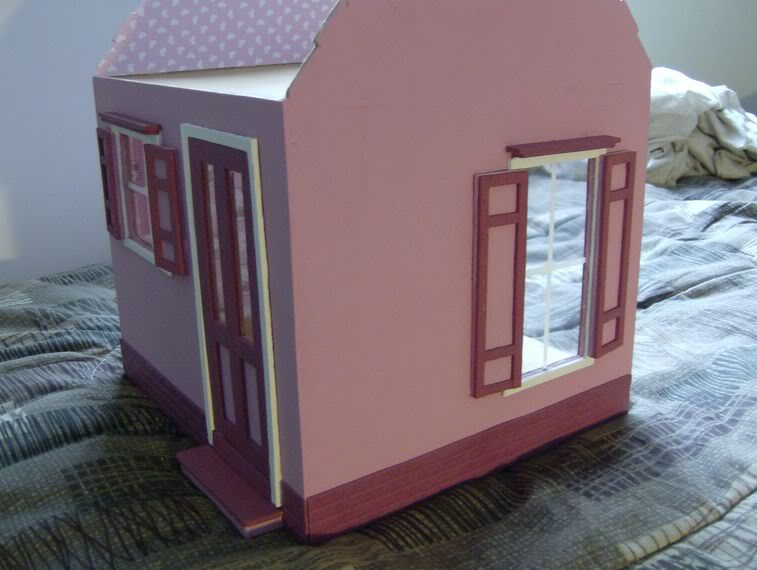
I installed all the window panes and both the interior and exterior trims. I also put in the door, which fit perfectly without any sanding. The door has an additional bottom trim that creates the illusion of a riser above the step.
Next, I attached the shutters that I had assembled and painted the day before. The windows feature a top trim, which consists of a narrow piece laminated on top of a wider one. If you've built Greenleaf Dollhouses before, this type of window trim will be familiar to you. The laminated pieces sit on top of the exterior window trim, with the longer piece on top.
I prepared the roof, which is one of the last components to assemble for this dollhouse. The roof has different slots to accommodate whether the dollhouse will be used as an extension or as a standalone piece. Since I'm using it as a standalone, I removed the outer slots. I painted the eaves that will face outside and primed the inside for wallpaper. After wallpapering the roof, I glued it onto the dollhouse. I followed the same process for the back roof, but I didn't wallpaper it since it's not visible. I clamped everything to ensure it dries properly.
Finally, I assembled and painted the window boxes, glued them in place, and used tape to hold them steady while they dry. The first images show the true colors of the dollhouse.