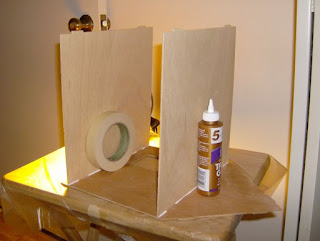
This dollhouse is easy to make, and you won’t need instructions if you’ve built dollhouses before. I definitely recommend it for beginners.
To start, it’s best to attach the side walls while the dollhouse is on its side. Position the walls as shown in the photos, ensuring the side window is on the right wall, near the back. Begin by laying down the right wall and gluing on the first and second floors. Finally, attach the left wall. Use clamps as much as possible, but expect some wobbliness; patience is key.
Next, lay the dollhouse on its back and glue on the front wall. Clamp it in place, then set the dollhouse upright and clamp everything tightly together. The structure may still be unstable and not perfectly straight. Adjust it as best as you can and clamp it down. Don’t worry if it doesn’t straighten completely until you add the roofs; it will come together over time. Just ensure that all joints are tight and clamped while drying. Apply wood glue to all joints and allow the entire structure to dry. Make sure the dollhouse isn’t too wobbly; adjust it so that all four corners touch your work surface. The roof will help straighten everything out later. As the glue dries, it will become easier to adjust the dollhouse.
While waiting for the shell to dry, I assembled the shutters and front door, using binder clips to hold them together since they are laminated. Once the shell was dry, I painted the dollhouse, filled any gaps with spackle, and applied a second coat of paint. I also assembled the porch steps.
I had leftover bricks from The Haunted Dollhouse project, so I decided to use them here after painting them to match. I thought this extra detail would enhance the small size of the dollhouse. To test the paint's adhesion, I tried it on a small area first; it worked well but required three coats to cover the dark brick underneath. I sanded the back of the bricks to reduce shine and improve adhesion since these rubber bricks often have trouble sticking. After painting and drying, I glued the bricks to the base of the dollhouse. It seems that roughing up the back helped with adhesion; I’ll check tomorrow to see if they stay in place.
Next, I primed the inside of the dollhouse with a light pink color that matches my wallpaper. Since I had plenty of pink paint available, this was a good choice. I also painted the ceiling in this same light pink for better coordination with the wallpaper. I stained the floors a very light brown color and then applied wallpaper to both the first floor and gable walls of the second floor. Once the wallpaper dried, I cut out openings for windows and doors.


