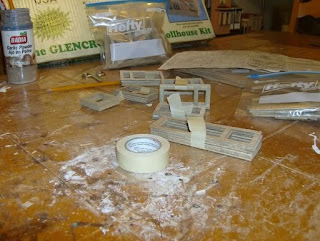
I started attaching the half-timber trim to the exterior of the dollhouse, and it turned out to be easier than I expected. The instructions seemed confusing, but each trim piece only fits in its designated spot, so there's no chance of making a mistake. Before gluing the trim onto the dollhouse, I stained all the pieces. I used a lot of tape and clamps to keep them flat since they are thin and can warp from the moisture in the glue. The stucco underneath also makes the glue less effective than if it were wood on wood.
The trim looks just as I imagined, enhancing the dollhouse's appearance while covering up tabs, slots, gaps, and other imperfections. Any remaining flaws can be easily fixed with spackle. Just remember to finish the half-timber trim before installing it.
I made the brackets by laminating two pieces together and placing them under the bays and window box. I'm pleased to say I didn't mess up this time, which is a common issue for me with dollhouses. Assembling the window box was straightforward, and I also glued on the chimney top, which I will stucco later. It's important to save leftover stucco for this purpose. I have some orange and red paint ready to create a terracotta color for the top flue.
Putting together the interior doors was a bit challenging because the openings can be tight due to the thickness of the laminated doors. A mallet can help fit them in place, and sanding them down can make installation easier.
I punched out all the remaining parts from the sheets and sorted my window pieces by number. A helpful tip for staying organized is to bundle them with masking tape and place them in one bag, labeling each bundle for easy identification.
I also put the fence and yard pieces in another bag. Adding a yard to the dollhouse is optional, but I plan to include it.


