I've completed the first floor bay and am now focusing on the tower gazebo. I purchased basic porch parts, particularly recommending long porch posts. When selecting posts, ensure they are slightly longer than the room height to prevent a slanted turret. The posts should match the exact height of the back wall's door area.
I used spackle to touch up walls and joints, and applied paint to the floor edges. After preparing the surface, I trimmed the gazebo floor with a narrow white trim that fits flush without touching the tower window tops. I then attached the tower top ring, which helps position everything straight and will support the turret, even though not all walls are currently in place.
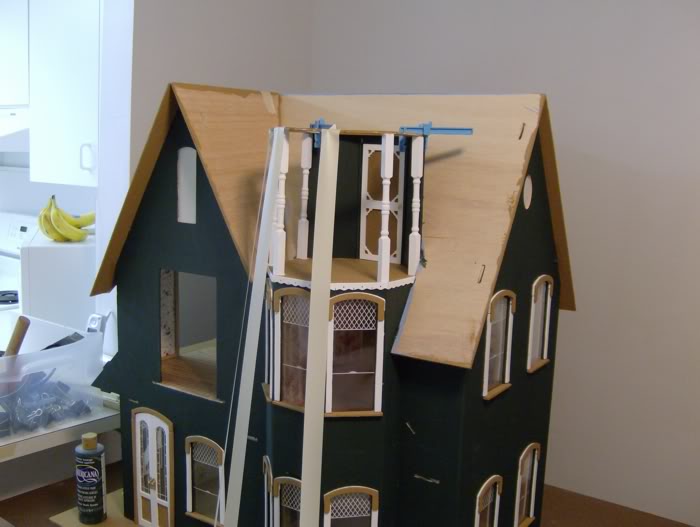
For the posts, I measured and cut them to match the back wall slots, using an Easy Cutter for precision. After painting the posts white, I carefully glued them in place. When installing posts, remember that exact measurements might not guarantee perfect fit due to slight floor imperfections. I recommend visually adjusting the posts to ensure they look straight from all angles. The dollhouse's inherent unevenness means eyeballing the alignment can sometimes work better than strict measurements.
After positioning, I clamped everything and let it dry overnight. The railing cannot be installed while the glue is still wet. I used the original back tower walls as a height reference, which helps maintain the dollhouse's intended aesthetic and roof line proportions.
While waiting for the tower to set, I added gingerbread to the gable roofs, carefully gluing trim flush to the roof edge and positioning verge boards behind it. Spackle helps hide any joint gaps, creating a clean finish.
Finally, I installed the porch roof, using paper templates for shingling and carefully tapping tabs into place. Binder clamps helped keep roof corners straight and supports tight against the wall.