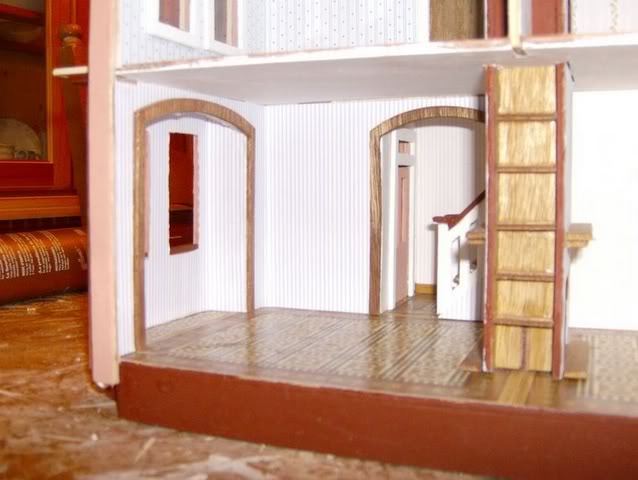
Today, I prepared the interior doors for the dollhouse. I like to save interesting scraps from the kit when I punch out pieces, as they can be useful during construction. I decided to add some shapes to the doors to make them more visually appealing. Since this dollhouse has limited space, I will glue the doors shut. This will also help conceal some gaps between the floors. I used a combination of white trim and stained doors for a nice contrast.
I finished the bays by trimming excess wallpaper and wallpapering the other side of the curved wall that faces the windows. This side is only visible from outside through the windows. I also added trim to the bay walls. I put trim along openings that won't have doors as well. While installing the windows and doors, I had to do a lot of touch-ups inside, especially with the wallpaper. Additionally, I needed to hide the floor tabs in the attic. Now, I just need to add the baseboards and ceiling trim to complete the dollhouse.
One challenging area is the second-floor hallway inside the tower walls. To avoid problems, install the components in this order - first, the interior bedroom door and trim; next, the window closest to the bedroom door; and finally, the last window. This sequence ensures you always have an opening for access, making it easier to hold and glue everything in place. If you don't follow this order, you may struggle to keep components steady due to limited access.
I also glued on the tower brackets. If your tower isn't glued on, position it like I did to ensure that the brackets are evenly attached and touching the bottom of the tower roof.