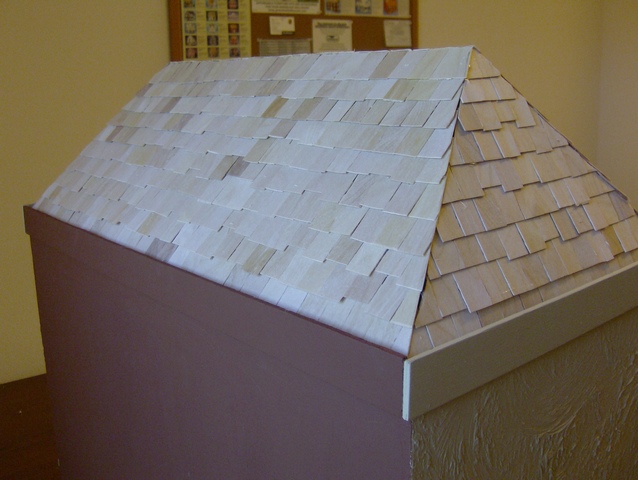
My real house has asphalt shingles, but I didn't use them for this dollhouse because I couldn't find the right color. Instead, I chose birch veneer square shingles and will finish them to resemble asphalt with some paint blending and texture.
The birch veneer shingles came in a large bag, and while they are all square, they vary in size. Rather than sorting them by size, I decided to embrace their uniqueness and liked the staggered look they created on the dollhouse. You can sort your shingles by size if you prefer.
Real asphalt shingles come in strips, or you can make your own using my method or by cutting sandpaper into shingles. The roof of this dollhouse is small, so once you cut the sandpaper into strips, it's easy to cut out individual shingles. You can also spray your shingles with textured paint, but you'll need to create templates and spray paint them before attaching them to the dollhouse.
I completed the shingling of my entire roof in about two days, working for a couple of hours each day. I started with the side roofs, then did the back, leaving the front for last. Shingling is similar to wallpapering; it's best to do the sides first if the roof panels meet at the edges. This way, you won't see rough shingle edges in the corners.
I omitted the chimneys that came with this dollhouse because my real house doesn’t have any.