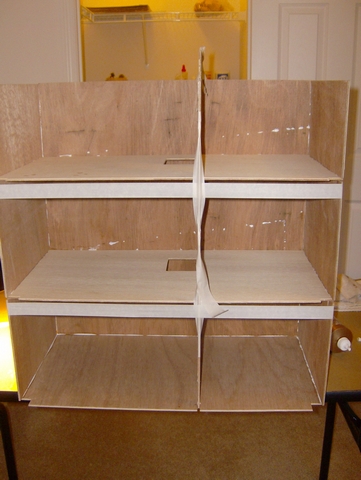
Assemble your dollhouse shell according to the instructions until you reach the top partition on the third floor. It's easier to attach this partition after you've put up the left wall. Use masking tape to clamp the walls as you work, preventing them from falling while you fit in the floors and partitions.
Start by using tacky glue, which is thick and non-dripping, to hold the parts together. Once the assembly is semi-dry, reinforce all joints with wood glue. Running a fan in your workspace will help speed up drying times. This dollhouse has a simple boxy design, making it easy to assemble. Each area remains accessible for finishing later, so don’t worry about attaching the front panels or staircases just yet; these can be added later.
My goal with this dollhouse is to create a semi-replica of my own townhouse. While the architecture differs, the windows are quite similar. I might need to modify some exterior details to achieve a closer resemblance. A neighbor even remarked how much the Cheltenham Dollhouse box photo resembled our houses, which I find exciting as I create a replica of my home.
To match the exterior colors, I looked for similar craft paints. If you're doing something similar, you can use latex paint from your actual house for your dollhouse. However, in my case, the exterior paint was a custom mix that is quite expensive and only sold by the gallon — far too much for a small dollhouse. Typically, though, you can find half pints of latex paint that work well for dollhouses and provide exact color matches.