The re-released laser-cut Tennyson Dollhouse kit differs from the original model in several key design elements, including the porch railings, foundation, and second-floor porch roof. While the basic structure remains the same, this blog focuses on the older version of the kit.
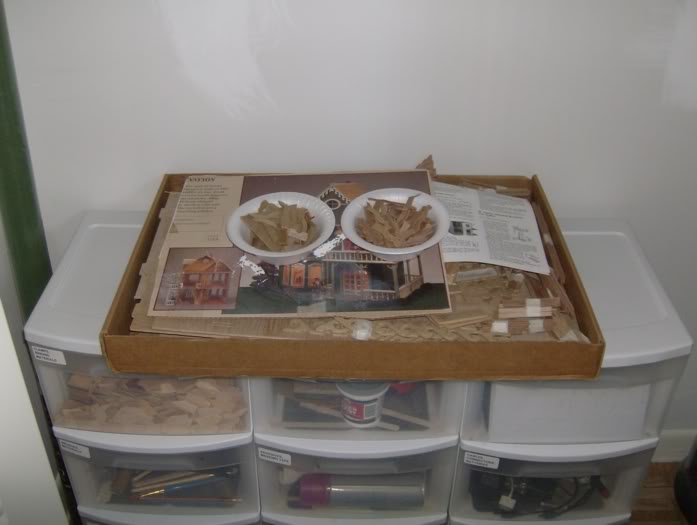
This kit was a garage sale find. Because it is old, many pieces were loose on their sheets. I chose to label and punch out all pieces in advance, though I caution beginners against doing this. The pieces are intricate and easily confused, so novice builders should keep components on their original sheets until specifically instructed otherwise.
The vintage instructions use somewhat unclear terminology for dollhouse parts. To maintain organization, I recommend carefully labeling each piece with its name and sheet of origin. This approach helps you easily locate components on the schematics. Pay special attention to long pieces of varying sizes, and use a tape measure to confirm accurate identification. With limited instructional images, preserving the box photo becomes crucial for understanding the final assembly.
I use masking tape to bundle pieces by sheet number and letter, ensuring slot areas remain clear and free from wood splinters that might impede smooth tab connections. After sanding each bundle, I re-tape them and label the masking strip to track the contents of each group.