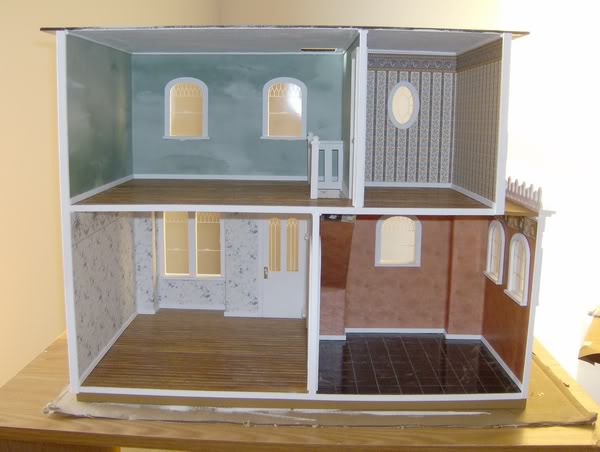
Today, I installed the interior trim and back edge trim. I usually paint the back edge trim the same color as the dollhouse body, which would have been red in this case. This creates the effect of looking through an opening in the walls of the dollhouse. However, I decided to paint the back trim white because red would clash with the white trim inside.
Back trims are very important. No matter how much you sand and paint the edges, nothing finishes them off like proper trimming. I was worried about damaging the wallpaper and having to patch it, as some wallpapers do not patch well. To avoid this, I clamped the back edge trim with masking tape to the floors and ceilings instead of the walls. For the middle edges, I clamped them to the interior door trim.
Adding the interior trim was straightforward for this dollhouse. It's important to ensure that your interior sills match up with the exterior ones. Always paint your trim on both sides. With darker edges, you'll need two coats of paint, especially for white trim. If any area is left unpainted, it will be visible when looking through the windows from outside, and you can't fix that once the trim is on.
I also touched up around the dollhouse as I worked. It's best to do touch-ups along the way and then give everything a final check at the end. This prevents feeling overwhelmed by leaving all touch-ups for last, as there are always many areas that need attention. Some areas of the siding are still wet from touch-ups, so you may notice some blotchy paint in the pictures.