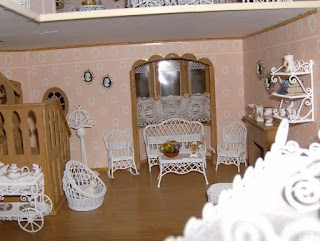
I have decided how to address the peaked roof eaves on the second floor. After considering various options like wallpapering or painting, I chose to conceal them completely. I purchased ribbon matching the curtain fabric and glued it along the top edge of the areas where the attic roof peaked through. This effectively hid the jagged and uneven edges. After placing the fabric, I trimmed the bottom edges with thin sticks where the wallpaper met the roof eave, creating a clean, finished look.
I used skewers to trim all the ceilings, including hard-to-reach areas inside the bedroom. While it's difficult to photograph, the ceiling trim extends around the staircase landing when viewed through the bedroom windows. I also trimmed the attic gables and the interior of the tower room door. Since the room's shape prevented the trims from meeting at the top corners, I added two fabric flowers. Alternatively, wooden caps could be used. I used tacky glue throughout the process to allow ample time for precise positioning.


