Finishing the Kitchen
I am now focused on completing the kitchen before moving on to the installation of the staircase on the second floor.
To wallpaper the front wall, I need to make a special cut in the wallpaper to fit around 'Partition #2', ensuring it aligns properly with the staircase. A similar cut is required for the right side wall where the exterior door is located. To achieve a good fit, I will crease the wallpaper around these walls to create a template. I also have a different tile paper pattern that I want to use in this room.
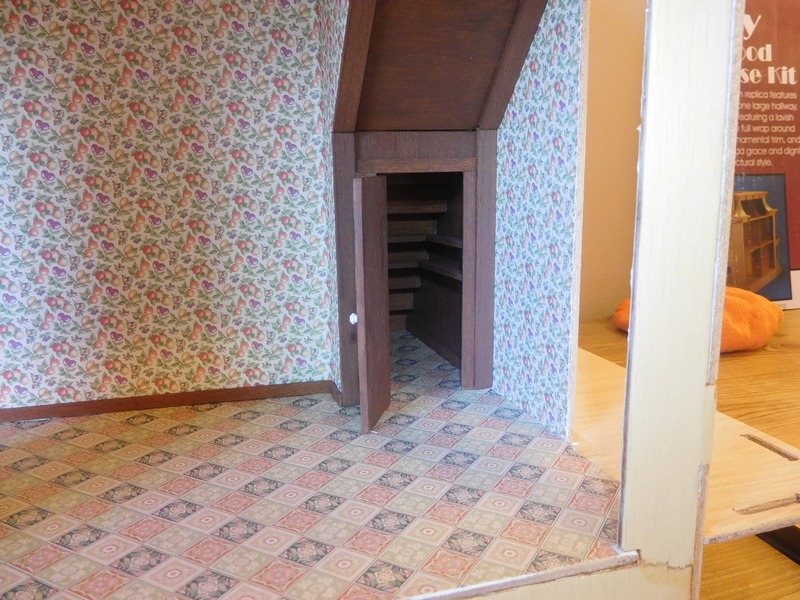
Following the same process as in the foyer, I made a template of the floor to guide my cuts for the tile flooring. However, there’s one important difference regarding the closet. It’s not practical to cut a complete template that includes the closet floor because maneuvering and gluing such a large piece would be difficult. Instead, I will treat the closet floor separately from the kitchen floor and then join them to create a seamless appearance.
The best approach is to first cut out a template for the closet, leaving about an inch of overhang that extends into the kitchen. I will glue this closet flooring first and then cover it with the kitchen floor, ensuring that the patterns match for a continuous look. This way, the overlapping seam will face inside the closet, making it invisible. To achieve this, I need to carefully cut both pieces of flooring paper so that their patterns align perfectly when joined. This requires meticulous planning, dry fitting, and multiple adjustments until everything looks right. It’s crucial to maneuver the wallpaper correctly before applying paste; using the right wallpaper paste allows enough time for adjustments before it dries.
Unfortunately, I encountered a significant issue with the flooring. Half of the wallpaper began wrinkling while drying. While some wrinkling can happen, it should flatten out once dry; mine did not. I attempted to smooth it with a small roller, but it creased instead, ruining one half of the kitchen wall. Since I didn’t have enough paper left for a complete replacement, I had to patch it with another piece that matched the pattern for that side of the kitchen. The new paper seems to be drying correctly this time, but if it fails again, I won’t have enough material left and will have to cover everything with wood flooring instead—a situation I hope to avoid because I really like this tile paper.
I’m uncertain what caused this problem. I used wallpaper mucilage instead of YES Paste, which is thicker. Perhaps after using YES Paste for so long, I didn’t realize how runny mucilage is and applied too much. It’s essential to use just enough paste to coat the back of the paper; if damage occurs over a large area, it’s often irreparable. I’ve decided to hold off on installing baseboards until I'm certain everything is secure. Instead, I'm flipping the dollhouse upside down to work on the ceiling.
I found some unique scrapbook paper that resembles tin for this purpose. As with the tile flooring, I need a perfect template for cutting out the ceiling paper since it cannot be patched once applied. I used tacky glue for this application. Fortunately, the tile flooring dried correctly and was saved.
I've installed baseboards and ceiling trim throughout most of the room except for the wall with the kitchen door, which cannot be finished until that door is hinged. I also added trim for the pantry created by extending from the first-floor staircase and installed shelves inside using strip wood.
I applied trim around three sides of the pantry door opening; however, I need to wait on trimming one side until after hinging the door since that trim will hold the hinges in place. For this part, it's important to use harder basswood instead of balsa wood and ensure it's wide enough for hinges while matching the thickness of the door. The door must be sanded so it moves freely within its opening without snagging. Once I've perfected how the door fits, I'll stain or paint both it and its trim before attaching hinges. Miniature hinges are delicate and require patience during installation.
After hinging the door in place, I added a knob; although they were plain white, I painted tiny flowers on them for detail.
Finally, I glued down trim around the completed door. This step requires careful handling as you may need to sand down your door again since hinges can slightly alter its size and fit within its opening. Always hold hinged doors by their actual frames rather than their trim. These doors may never be completely perfect and are quite delicate; they are meant purely as decorative elements rather than functioning like real doors. They should be opened gently without force and allowed to move freely within their limits.
I applied a coat of gloss varnish on the tile floor. The room is nearly finished until it's time to install the kitchen door.