It's time to pre-assemble the dormers, which need to be fully finished before installation since access from the inside will be limited. They are assembled in the same way as the other windows, using a double-hung style and similar trims.
Before you start assembly, make sure to paint everything. Every part should be completed beforehand, including the window sashes, both inside and out, as a small portion of the edges will be visible from the opposite side. Since the fit may not be perfect, it's important to finish both sides.
When installing the interior window sash, ensure that you also install the casing with it. The fit is very tight, so you want to adjust the sash until the casing fits properly. Avoid letting the glue dry before installation.
You'll encounter a similar issue with the dormer roofs as you did with the mansard panels. The wooden roofs provided with the dollhouse are difficult to bend, even though they are scored. I attempted to wet them without success, so I opted for sandpaper instead. Since my dormers are stained to match the ceiling and supports, the sandpaper added a nice textured look that complements the stain. They are easy to attach and curve well; I just need to paint the exterior once they are dry.
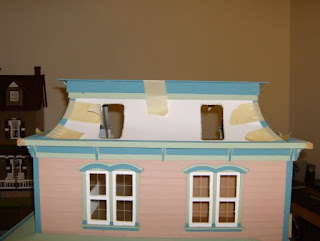
I installed the corner trim for the mansard panels, applying a lot of pressure with plenty of glue. You can only do one at a time, so clamp one side and let it dry overnight before moving on to the other side. Sufficient drying time is crucial because any pressure can lift them if the glue isn’t completely dry.
Next, I installed the top roof in a manner similar to how I did for the porch and third-floor roof. Like the third-floor roof, the roof trim sits on top of the verge board without needing to go around the outside edge, simplifying the process.
Lastly, I installed the widow's walk I purchased for the dollhouse but found that I was short on materials.


