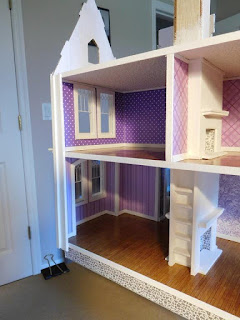
I need a break from working on the interior of the dollhouse because it has been quite a lot of effort. For now, I’ve decided to shift my focus to the exterior. I plan to add various architectural features to the dollhouse while preserving the original ones. Since this will take time, I think it’s best to work on one wall at a time.
I’ve added siding to the lower part of the wall and intend to put Tudor trim at the top. However, I need to install the roof first to keep the original brackets intact. Later, I will figure out how to space everything correctly for both the brackets and trim.
I also added corner trim, which is essential when installing siding. Like with The McKinley Dollhouse, this model wasn’t designed for siding, so I must be careful that the siding and corner trim don’t interfere with other parts. It’s better to work slowly and focus on one wall at a time, which helps with planning for the roof and porch trim.
I decided to leave the bay roof flat and add a widow's walk around it instead. Unfortunately, half-scale building supplies are becoming harder to find, so I used decorative trim instead, which turned out well. I covered the flat bay roof with sandpaper and painted it to match the porch floor. For the bay window inlay, I used cardstock painted dark purple like the main walls and framed it with thin trim. As you can see, I added different sizes of trim around the corners for depth and detail. I might add more around the bay window later. Using trim in this way really enhances the architectural features of the dollhouse.


