This dollhouse assembles similarly to The Storybook Cottage Dollhouse, using interlocking tabs and slots. Assembly must follow a specific order, so carefully follow the instructions. Keep the window punch-outs as they serve as shutters.
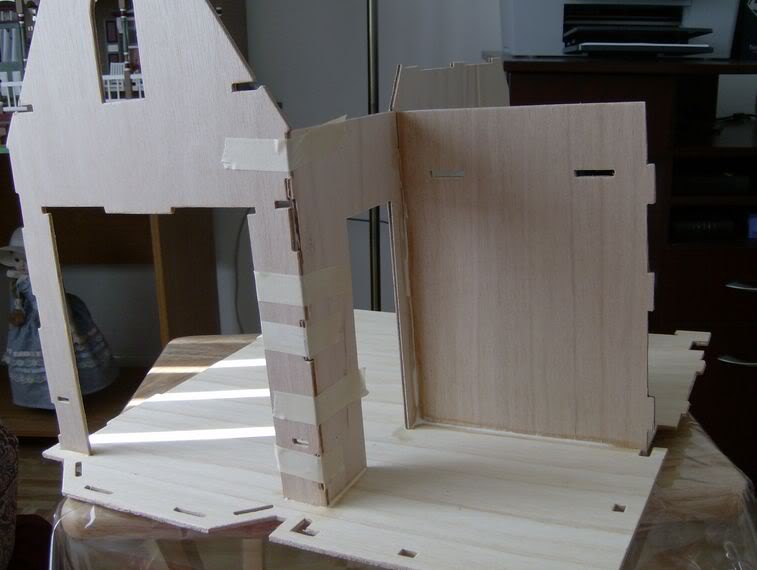
Wood glue or tacky glue works well for assembly. The tight-fitting tabs and slots may require a mallet for proper placement. Build exactly as instructed without skipping steps. After assembling the shell, reinforce joints with extra glue and secure with masking tape. Allow the structure to dry and stabilize before adding back walls.
Pay close attention to the instruction photos when attaching the similar-looking back walls. Don't worry if something breaks; glue can fix it. Once back walls are in place, turn the structure upside down to apply glue to ceiling joints and other hard-to-reach areas. Adjust the dollhouse position to prevent glue from dripping. Let each section dry before rotating to work on another area. The protruding slots at the bottom of the first floor act as a locking mechanism for the shell.
Ensure the glue is completely dry before painting or priming to prevent warping.