Prime the wood with flat white paint or primer, except for areas you plan to stain. This seals the wood just enough to prevent excessive paint absorption while maintaining workability. The first paint coat can essentially serve as a primer.
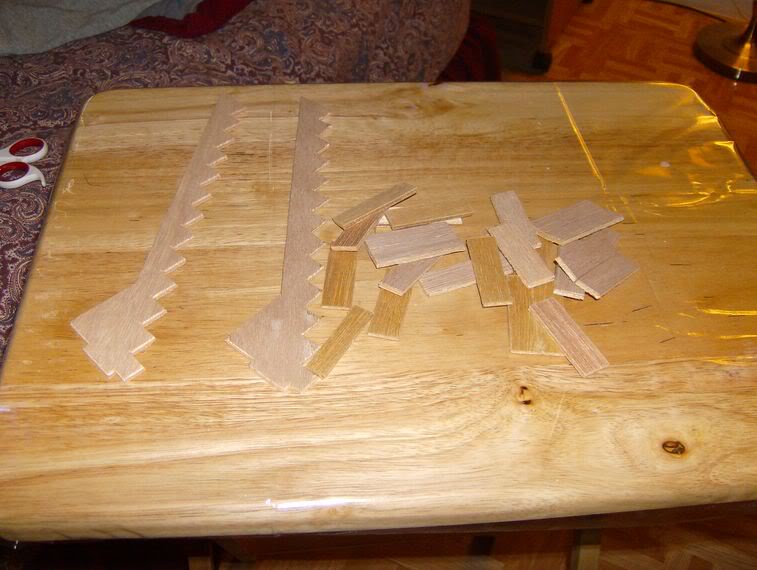
Build the staircase thoroughly, painting and staining all sides, including the underside, since it will be visible in the final design. When assembling, place stringers side by side, glue risers carefully, and ensure the structure is square before adding steps. Use binder clips to hold pieces tightly during assembly.
Carefully gather and label wall pieces, marking them off the instructions. When assembling the structure, work slowly and use masking tape for clamping. The walls might shift initially, but they will stabilize as more walls are added. Follow glue instructions precisely to maintain flexibility for future installations.
Check all joints for proper alignment and gaps before letting the structure dry. If the first floor sags, use the foundation piece to support it. Be mindful of glue types, as wood glue dries yellow and may affect your finish. Leave the center partition wall unglued to facilitate staircase installation later. A sturdy shell is crucial for a successful dollhouse, so take your time and work methodically.