I covered the roof with printed shingle paper that I created on my computer. This scale is ideal for printing items like this at home. I used a glue stick to attach the shingle paper, being careful not to oversaturate it, just as I did with the wallpaper.
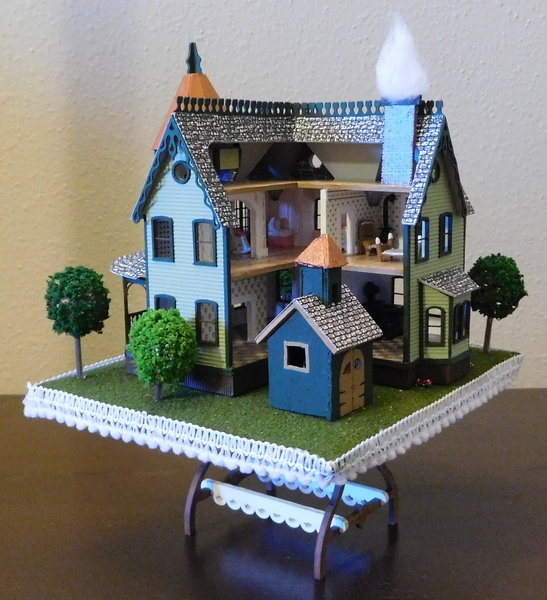
I had a leftover piece from the kit that resembled a chimney. I covered it with printed brick paper and painted the top flue. To simulate smoke, I glued a small piece of cotton on top and placed it in a corner of the attic floor, similar to the chimney in the large Garfield Dollhouse.
Another feature of my large Garfield Dollhouse was a carriage house, which I made from the Annie's Crab Shack Dollhouse kit. I wanted one for this tiny version as well, so I created a mini replica using balsa wood. I decided not to make it open in the back because finding accessories at this scale would be nearly impossible. Although I could have printed a scaled-down photo of a tool shed wall to glue on one side, I didn't think of it until after completing the building. Still, I think it looks cute next to the tiny Garfield Dollhouse.
The tiny display table is a laser-cut kit that's easy to assemble, but I added a thin piece of cardboard on top to provide a larger base for the tiny Garfield Dollhouse. The original tabletop was too small, and I wanted to avoid any overhang on the dollhouse sides. I covered the base with grass paper and glued a thin ribbon along the edges for a nicer finish.
The tiny trees were purchased at my local craft store in the diorama section. I am gradually filling the dollhouse with micro furniture, and now this tiny Garfield Dollhouse can be displayed in The Lily Dollhouse living room.