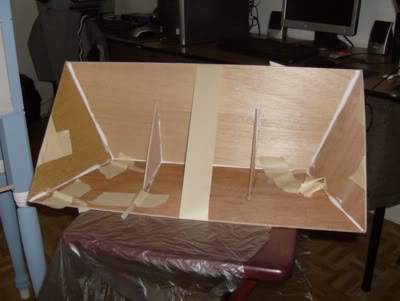
During my dollhouse construction, I began by priming the entire interior, including the floors, which I plan to cover. I removed the roof to ensure thorough coverage of all corners. I painted the side walls, leg bottoms, and primed and painted the front wall's interior and exterior. I temporarily positioned the front wall to assess the dollhouse's developing structure, dry-fitting it without permanently attaching hinges.
My focus then shifted to constructing the roof, which required careful attention to detail. While assembling the roof, I discovered that the outer triangular pieces should overlap the side edges rather than sit flush. Unfortunately, I had already glued them flush, and attempting to separate them would likely cause damage. This mistake complicated installing the roof ceiling, necessitating significant sanding to achieve a proper fit.
After the roof dried, I applied a paint and spackle mixture to create a plaster-like finish. The ceiling's color closely matched the wallpaper panels I planned to use, promising an aesthetically pleasing result. I installed the roof and secured it with tape while drying.
I also worked on the front door panel and began assembling the windows, which consisted of four intricate layers. The window assembly involved carefully placing sashes with mullions, attaching clear acetate "glass," and adding trim. I appreciated the subtle gap created by the trim, which provided a faux interior window detail.
For the exterior, I laminated two window trims, positioning the narrower piece on top of the larger one, and carefully centered them on the window opening. Despite my earlier roofing challenge, the final result fit perfectly and looked cohesive.